Keystone correction is the projector setting you reach for when the picture looks like a trapezoid instead of a rectangle. The top may look wider than the bottom, one side may lean, or the image may seem to climb the wall. It is useful for a quick movie night, a bedroom shelf, or a temporary setup where the projector cannot sit in the ideal spot.
The important part is knowing what the setting can and cannot fix. Keystone correction can square the shape of the image. It cannot make awkward placement optically perfect, brighten a room, or rescue a wall that is too textured. Use it as the finishing adjustment after you have made the physical setup as sensible as the room allows.
What keystone correction actually does
When a projector lens points straight at a flat wall or screen, the light travels an even distance across the image and the picture naturally looks rectangular. Tilt the projector up, down, left, or right and one part of the picture travels farther than another. The result is a trapezoid, commonly called the keystone effect.
Keystone correction digitally reshapes that trapezoid into a rectangle. As BenQ explains in its overview of projector keystone correction, vertical correction fixes a picture that is wider at the top or bottom, while horizontal correction addresses a picture that is wider on one side. Your projector may offer only vertical correction, both directions, four-corner adjustment, or an automatic option. The exact menu varies, but the goal is always the same: make the edges look parallel again.
Move the projector before you touch the setting
Start with the simple physical fix. Put the projector on a stable surface, point the lens at the center of the wall or screen, and try to keep the body level. Move it closer or farther away to set image size instead of tilting it dramatically to reach higher on the wall. That gives the lens the best chance of producing a clean picture from corner to corner.
For a shelf or bedside table, raising the front a little may be unavoidable. That is fine. The useful target is not mathematical perfection, it is a small enough angle that the picture needs only a small correction. The store’s portable projector setup guide walks through placement, room light, and picture order, while the projector focus guide helps once the shape is close.
When keystone correction is the right call
Use it when a reasonable placement still leaves a modest shape problem. A temporary movie setup, a hotel room, a rental wall, or a room with fixed furniture can all make a perfectly centered position impractical. A small vertical adjustment can make subtitles easier to read and make the picture feel settled without turning setup into a furniture-moving project.
It is also useful when the projector has to sit below the lower edge of the image. Many compact projectors live on low tables or media consoles. If moving the unit directly forward makes the picture too low, lift it slightly and use a light correction after you have centered it. The setting is there to make real rooms more flexible, not to punish you for not owning a dedicated theater.
When less correction gives a better picture
Digital shape adjustment has a tradeoff. To turn a trapezoid into a rectangle, the projector has to resize or discard part of the available image area. With a small correction, most casual viewers will not notice. With a heavy correction, fine text can look softer, detail near an edge can lose clarity, and the usable image may become smaller. Projector manuals commonly warn that electronic correction can reduce sharpness, which is why physical placement comes first.
If you need a large correction, stop and reset the setting. Then try one physical change at a time: lower or raise the projector, move it sideways, bring it closer, or choose a lower spot on the wall. The guide to a brighter projector picture explains why a slightly smaller image can also look clearer in a normal room. Better placement often improves both shape and brightness at once.
How to correct a projector image in the right order
- Choose the wall or screen first. Use a flat, light, matte surface and reduce direct room light where possible.
- Set the final image size. Move the projector closer or farther away before using digital controls.
- Center and level the projector. Aim the lens toward the middle of the viewing surface and keep the body as square as practical.
- Use the smallest keystone adjustment needed. Correct vertical shape first, then horizontal shape only if your projector supports it.
- Refocus after the shape is corrected. Use subtitles, menu text, or a test pattern to check the center and corners.
Do not chase the shape and focus at the same time. Correct the placement, square the picture, then focus. Epson’s image-shape guidance follows the same practical order, moving from the projector’s physical position to its built-in correction controls.
Vertical, horizontal, and four-corner correction
Vertical keystone correction is the common one. It fixes an image that is wide at the top and narrow at the bottom, or the reverse. You will usually see this when a projector is tilted upward from a low table. Horizontal correction addresses a picture that leans wider on the left or right because the projector is off to one side.
Four-corner correction lets you pull each corner separately. It can be handy for unusual rooms, but it is not a substitute for lining up the projector. More controls can tempt you to keep adjusting until the outline looks right while the picture itself becomes less even. Use a small adjustment, step back to your seating position, and judge the result with real video or text instead of staring at the menu from two feet away.
Why a squared picture can still look soft
A rectangular outline does not guarantee a sharp image. If the projector is angled sharply, the center may look focused while one side stays a little soft. A textured wall, a wrinkled screen, room light, or an image stretched too large can add to the problem. Start by reducing the angle and correction amount. Then focus slowly after the projector has had a few minutes to warm up.
Use small text, menu icons, or subtitles to check focus. A movie scene can look fine even when letters near the edge are fuzzy. If the wall itself is the problem, the projector screen versus wall comparison can help you decide whether a smoother surface would make more sense for your room.
Auto keystone is convenient, not magic
Some projectors can detect their angle and square the image automatically. That can save time when you move the projector often. Still, check the finished picture before you start watching. Automatic correction may not know that your wall is off-center, that your shelf is uneven, or that you would prefer a smaller, sharper picture over the largest possible rectangle.
If the automatic result looks stretched or a corner remains soft, turn the feature off temporarily, improve the physical placement, and run it again. A repeatable setup is better than asking the projector to compensate for a different severe angle every time.
Fix common shape problems without overcorrecting
If the top of the image is wider than the bottom, the projector is usually aimed upward from below the screen or wall. Lower the image by raising the projector itself if you can, then use a small vertical correction. If the bottom is wider, the projector is likely above the target and angled down. Again, change the physical height or surface first. The correction setting should only trim the remaining difference.
If the left or right edge is wider, move the projector closer to the center line of the wall. A projector that sits far off to the side can make the outline look acceptable after horizontal correction, but the image will often feel less even than one made with a straighter angle. In a temporary room, it may be more useful to accept a slightly smaller image and choose a surface that lets the projector face forward.
When all four corners look uneven, reset the correction controls before trying again. Start with the projector level, the image sized by distance, and the lens centered on the wall. Then make one small adjustment and watch what changes. Changing vertical, horizontal, four-corner, focus, and zoom controls all at once is the fastest route to losing track of what actually helped.
Make the final judgement from the couch
Once the outline is square, sit where you will actually watch. Put on a scene with subtitles, faces, and a few darker areas. Check whether text feels easy to read and whether the edges pull your attention away from the film. A projector setup does not need to win a laboratory test. It needs to be comfortable for the people in the room.
That final check also stops you from fixing a non-problem. Tiny differences that are obvious while standing next to the wall often disappear from the sofa. If the picture is rectangular, the focus is even enough, and the content looks natural, leave it there. Good projector setup is mostly about removing distractions, then getting on with the movie.
For a setup you use often, take a quick photo of the projector position or mark the shelf spot with a small piece of removable tape. That turns the next session into a repeatable routine: place it, connect the source, make one small correction if needed, and start watching. The more predictable the starting point, the less likely you are to rely on extreme keystone correction.
Build a more forgiving portable setup
The Electronics Place’s HY300 portable smart projector is best treated as a flexible small-room and casual-viewing option. Give it a stable surface, a clear wall, and a modest image size, then use its setup controls as a final polish. If you are connecting a streaming source or computer, get the picture shape and focus right before dealing with audio or display settings.
For a reliable grab-and-go kit, keep the projector, power cable, HDMI cable, and any adapter together. The laptop-to-projector guide and phone-to-projector guide cover the connection checks that prevent a blank-screen surprise. Once the placement is familiar, keystone correction should take a few small adjustments, not a long rescue mission.
A quick keystone correction checklist
- Make the projector face the wall or screen as directly as the room allows.
- Set image size by moving the projector before tilting it.
- Apply the smallest vertical or horizontal correction needed.
- Refocus using detailed text and check both the center and edges.
- Step back to the seating area and make sure the picture still looks natural.
That is the practical rule: place first, correct second, focus last. Keystone correction is a handy tool for real-world rooms. It works best when it is doing a little finishing work instead of carrying the entire setup.
Frequently asked questions
What is keystone correction on a projector?
Keystone correction is a shape adjustment that turns a trapezoid-shaped projected image back into a rectangle when the projector is tilted or set off to one side. It is useful for a quick setup, but the best picture still comes from placing the projector as square to the wall or screen as possible.
Does keystone correction reduce picture quality?
It can. Keystone correction digitally resizes and reshapes part of the picture, so heavy correction can make fine text and edge detail look softer. A small adjustment is usually fine for casual viewing. For the clearest picture, move the projector first and use only the smallest correction needed.
Should I use keystone correction or move the projector?
Move the projector whenever the room allows it. Start by centering it and making the lens face the wall or screen as directly as possible. Use keystone correction for the small remaining shape error, or when furniture, seating, or a temporary setup makes perfect placement unrealistic.
Why is one side of my projector image still blurry after keystone correction?
A projector that is angled sharply can produce a picture that is rectangular but not equally sharp across the whole image. Reduce the angle, lower the amount of keystone correction, and refocus after the projector has warmed up. Check the wall or screen is flat as well.
Related posts

Portable Projector Setup: Get a Clear Picture Anywhere
A practical guide to placing, focusing, connecting, and tuning a portable projector for movie night, gaming, or a quick big-screen setup.

How to Connect Your Phone to a Projector
A practical guide to wired and wireless phone-to-projector connections, plus the compatibility checks that prevent a movie-night scramble.
How to Connect a Laptop to a Projector
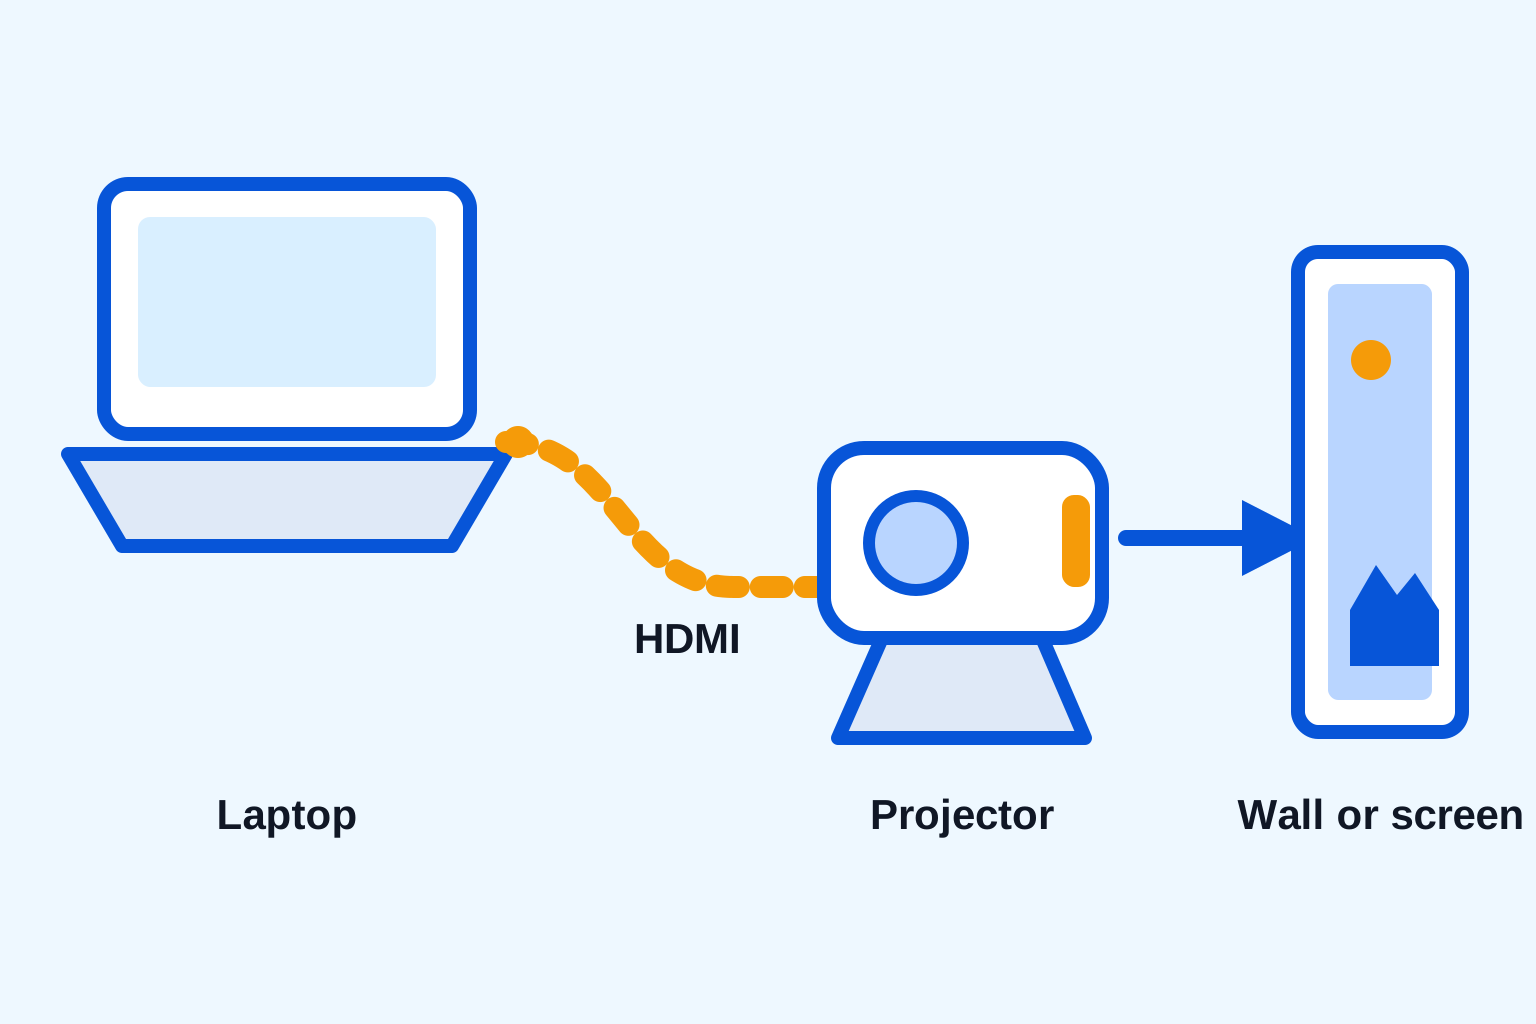
A simple laptop-to-projector guide for HDMI, display settings, sound, and the quick checks that prevent a blank screen.

How to Connect a Bluetooth Speaker to a Projector
A simple guide to pairing a Bluetooth speaker with a projector, choosing the right audio output, and solving common sound problems.