
A portable projector can make a small room, bedroom, dorm, or backyard feel like a big-screen setup. The catch is that tiny placement mistakes show up immediately: a picture that is soft at the edges, washed out by a lamp, or shaped like a trapezoid. The good news is that getting a clean image usually takes less gear than people expect. It starts with the room, the wall, and the order in which you make adjustments.
Start with the room, not the settings
Pick the flattest, lightest surface available. A projector screen is helpful, but it is not mandatory for a casual setup. A smooth white or light-gray wall can look surprisingly good when the room is controlled. Avoid heavily textured paint, patterned wallpaper, mirrors, and glossy surfaces. They scatter light, make fine detail look messy, or reflect bright spots back at the viewer.
Next, manage light before you turn on the projector. Close blinds or curtains, turn off direct lamps, and keep the room darker on the screen side than on the seating side. This does more for contrast than endless menu tweaking. Soundcore's projector setup guide makes the same point: lower ambient light improves contrast and color. For a more permanent home setup, browse the store's full collection for the pieces that help make the space feel intentional.

Place the projector straight and level first
Put the projector on a stable surface where the lens can face the center of the wall as directly as possible. A coffee table, media console, sturdy tripod, or shelf can work. Keep it level and leave clearance around its vents. Temporary setups are where people tend to balance a projector on a stack of books or angle it up from a couch arm. It may work for five minutes, then the image slips out of shape or the unit has no room to cool.
Before opening the settings menu, move the projector forward or back until the image is close to your target size. This distance is called throw distance, and it varies by model. The goal is not a giant image at any cost. In a brighter room, a modest picture often looks sharper and more satisfying than an oversized washed-out one. If you are trying a compact model for movie night, the HY300 portable smart projector is listed for 40 to 130 inch projection, so it gives you room to start small and adjust for the space.

Use keystone correction as a finishing tool
Keystone correction fixes the trapezoid shape that appears when a projector is tilted or off-center. It is useful, especially for a quick setup, but it should not be the first fix. Get the lens as square to the wall as you can, then use a small amount of correction only if the picture still needs it. The practical takeaway is simple: better physical placement gives the projector less digital correction work to do.
Once the picture is rectangular, focus it. Use text, menu icons, or a familiar high-detail scene, then check both the center and the corners. If the center is crisp but one corner stays soft, do not keep spinning the focus control. Recheck the projector's angle and height. A crooked setup can make it impossible to get every part of the image equally sharp.
Try this order when the picture looks wrong: physically center the projector, adjust its height, move it closer or farther away for the size you want, use a small keystone adjustment, then focus. That sequence prevents you from using software to fight a placement problem. It also makes the setup faster the next time, because you will know where the projector naturally works in that room.
Connect the source you will actually use
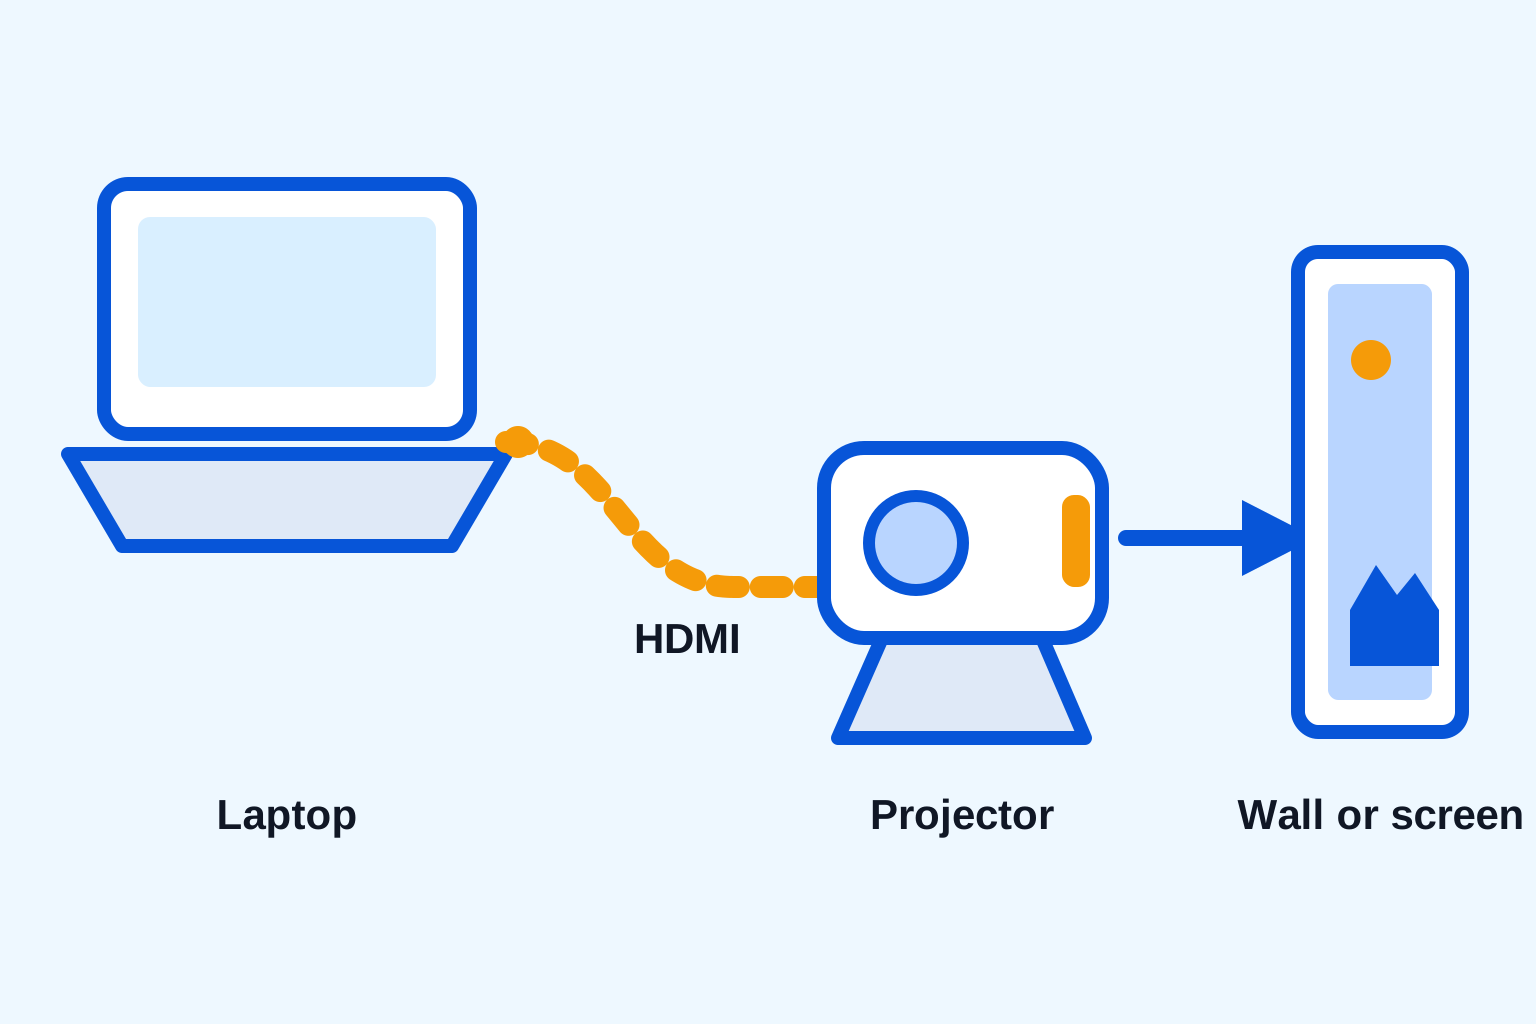
Set up the source device before the movie starts. For a streaming stick, game console, laptop, or DVD player, HDMI is usually the most straightforward connection. Make sure the projector is on the correct input, then test video and sound with a short clip. If you plan to use a phone, check its wired or wireless compatibility before the event. “Wireless” is not a guarantee that every phone, app, and projector will work together the same way.
Audio deserves a test too. Built-in speakers can be perfectly fine for a small room, but a larger room or outdoor setup often benefits from an external speaker. Depending on the devices, that may mean Bluetooth, a 3.5 mm audio cable, or HDMI audio. Soundcore's guide to connecting a speaker to a projector outlines the common connection paths. Pair and test before your guests arrive, because this is where tiny settings mismatches tend to show up.

Give the projector the best signal you can
A projector cannot add detail that is not in the source. If the picture is blocky, soft, or stutters, start with the device sending the video. A laptop or streaming stick should be set to an output the projector supports. A weak Wi-Fi connection can make a stream look worse even when the projector is working normally. Test the same clip from a different source or with a downloaded video before deciding that the projector is at fault.
Cables matter too, especially when a setup is temporary. Use an HDMI cable that fits securely and is long enough to reach without pulling on the projector. Avoid routing cables where people will step on them, and keep power cords away from drinks, open windows, and walkways. For game consoles, turn on game mode if the projector has one and test a fast-moving scene before committing to a long session. It is easier to notice delay during a quick test than halfway through a match.
Streaming apps can be the exception. Some services limit playback through certain phone connections or wireless mirroring methods. If an app shows a black screen or will not play, use the app directly on a compatible streaming device or try a wired source that the service supports. Planning the source first saves the familiar moment where everything looks perfect until the opening credits. Keep a simple backup source nearby, such as a laptop with an HDMI adapter, when the screening matters. A short test before friends arrive removes nearly all of the guesswork.
Make two quick picture adjustments
Most portable projectors look better after a few deliberate settings changes. Choose the picture mode that matches the room, not the mode with the punchiest store-demo colors. In a dark space, a movie or cinema mode may look more balanced. In a room with some ambient light, a brighter mode may help, though it can make blacks look lighter. Start with brightness and contrast at the default setting, then make small changes only after the physical setup is right.
Keep sharpness modest. Too much artificial sharpening adds halos around text and faces. If the image looks dull, do not assume the projector is the problem. Check the wall color, room light, source resolution, and streaming quality first. These factors often make a bigger difference than a menu slider. If your projector has an eco mode, try it only after you have seen the normal mode in the same room. Lower lamp power can be useful for a dark bedroom, but it may not have enough brightness for a larger image or a room with light leaking in.
Color settings are best handled gently. Set the image to a neutral-looking mode, watch a scene with faces and light backgrounds, then decide whether anything needs a small adjustment. Resist the urge to make every color more intense. A comfortable, consistent picture holds up better through an entire movie than a bright but harsh image that looks impressive for thirty seconds.
Plan sound and power before an outdoor setup
Outdoor projector nights can be great, but they are less forgiving than a living room. Wait until it is genuinely dark, set the image size smaller than you would indoors, and choose a wall or screen that is sheltered from wind. Even a little surrounding light can wash out the picture. A portable screen, light-colored sheet pulled tight, or smooth garage door may work, but make sure the surface is stable and clean before you begin.
Power is the other decision to make early. Use a properly rated outdoor extension cord when you need one, keep every connection off wet ground, and never run a cord across a walkway without securing it. If you are using a battery pack, check that it can supply the projector's required power for the full viewing time. Running out of power twenty minutes before the end is not a technical mystery. It is just an avoidable planning miss.
Give sound extra attention outside. The projector's built-in speaker may be fine at close range, but conversation, traffic, and open air absorb sound quickly. Place an external speaker near the seating area instead of beside the projector, then test dialogue from the back row. Keep the volume comfortable for your guests and neighbors. The best outdoor setup is not the loudest one. It is the one where people can hear the movie without straining.
Use a simple pre-movie checklist
- Darken the room and clear the projection wall.
- Set the projector on a stable, ventilated surface.
- Move it to the right distance before touching keystone controls.
- Center and level the lens, then correct the picture shape only as needed.
- Focus on fine details, checking the corners as well as the center.
- Connect and test your video source and audio before the viewing starts.
- Make small picture-mode adjustments for the room and content.
This routine makes a portable projector feel less like a gadget you have to wrestle with and more like a reliable part of movie night. Save the checklist in a note or take a photo of your best placement once you find it. That turns the second setup into a few minutes of work instead of another round of trial and error. For another real-world look at a compact model, read the store's HY300 projector review and the portable projector buying guide.
Choosing a portable projector for easier setup
For casual use, the most helpful features are usually practical ones: a compact shape, clear inputs, focus controls you can reach easily, and simple image correction for rooms that are not perfect. The right projector is not always the one with the longest spec sheet. It is the one that works in the space where you will really use it.
The HY300 portable smart projector is a straightforward option for shoppers who want a compact projector for movie nights, gaming, or a temporary big screen. It is listed with built-in Android, auto keystone correction, and a 40 to 130 inch projection range. Look through the full store when you are putting together the rest of the setup.
Photo source: Unsplash for the laptop image.
Frequently asked questions
How far should a portable projector be from the wall?
There is no one right distance. Each model has its own throw ratio, so move the projector until the image is roughly the size you want, then fine-tune focus. Start with enough room to keep the lens square to the wall instead of placing it at a steep angle.
Do I need a projector screen?
No. A smooth, light-colored wall can work well for casual movie nights. A dedicated screen is worth considering when you want a more consistent image, especially in a room where wall color, texture, or ambient light gets in the way.
Why does my projector look blurry around the edges?
First make sure the projector is level, centered, and facing the wall head-on. Then adjust focus while checking the center and corners. If the picture is still soft at one edge, reduce the amount of keystone correction and improve the physical placement.
Can I use a portable projector outside?
Yes, after dark is best. Use a stable, dry surface, protect the projector from moisture, and make sure you have a safe power plan. Outdoor spaces have more stray light than a closed room, so a smaller image often looks better than stretching the picture too large.
Related posts

How to Connect Your Phone to a Projector
A practical guide to wired and wireless phone-to-projector connections, plus the compatibility checks that prevent a movie-night scramble.
How to Connect a Laptop to a Projector
A simple laptop-to-projector guide for HDMI, display settings, sound, and the quick checks that prevent a blank screen.
How to Connect a Bluetooth Speaker to a Projector
A simple guide to pairing a Bluetooth speaker with a projector, choosing the right audio output, and solving common sound problems.

Outdoor Projector Setup: A Backyard Movie Night Guide
A practical outdoor projector setup guide for choosing a screen spot, managing power, setting up sound, and getting a clearer backyard movie-night picture.