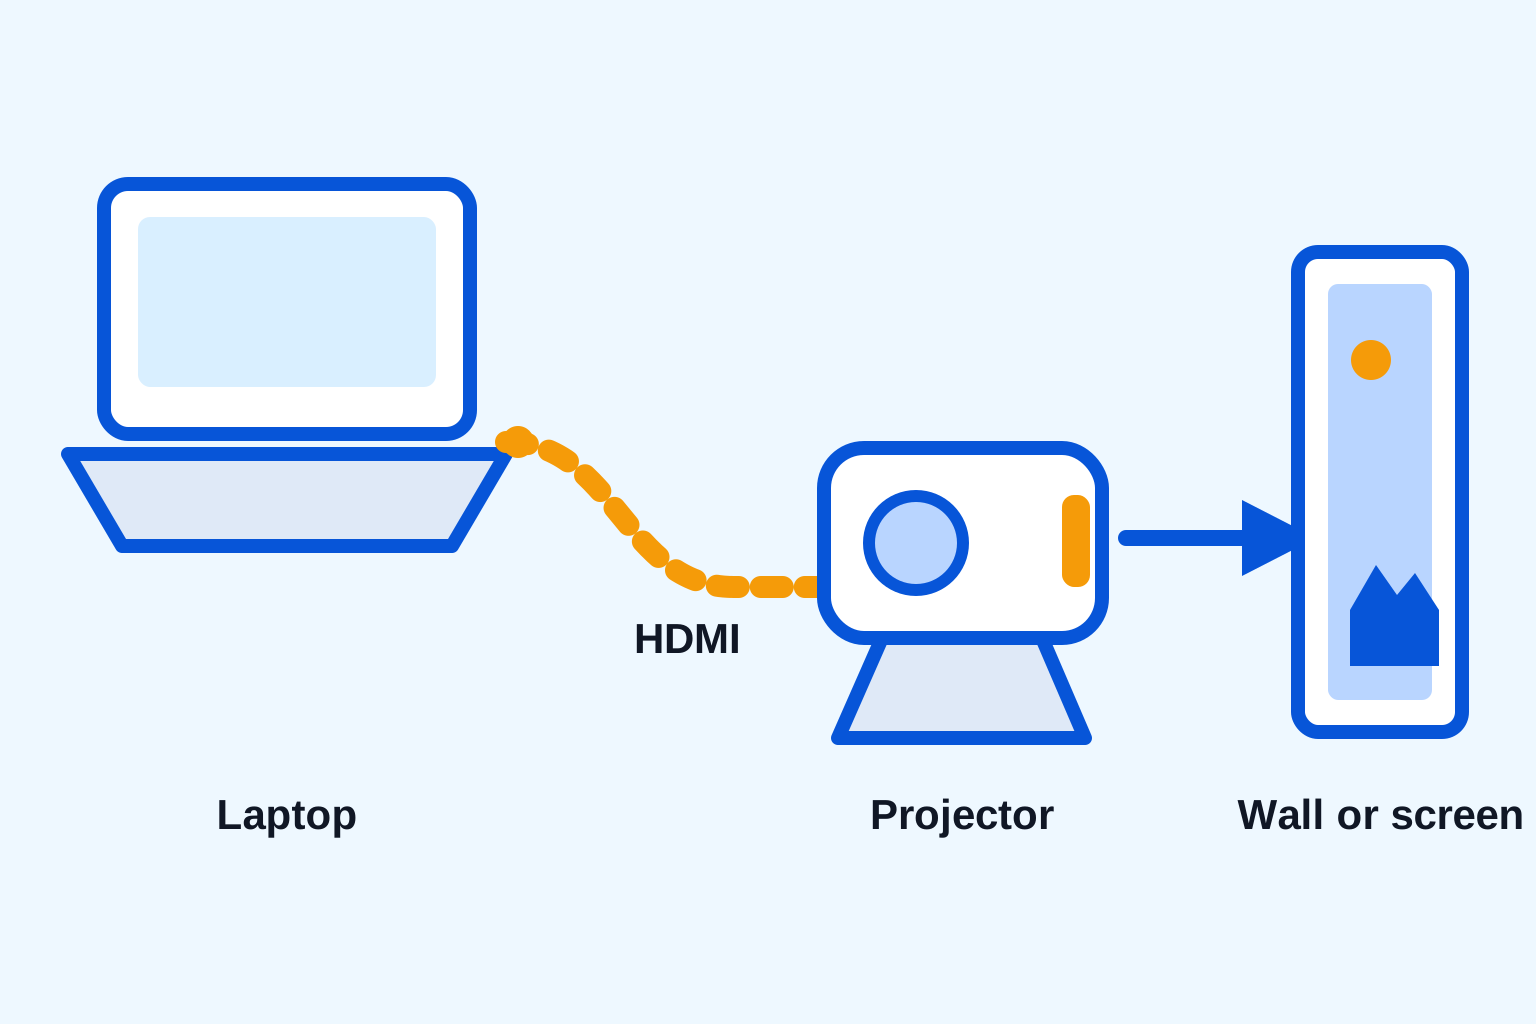
A laptop is often the easiest source for a portable projector. It can play a downloaded movie, run a presentation, open a browser, or act as the backup plan when phone mirroring is unreliable. The connection is usually simple, but a blank wall and a new cable can make small details feel bigger than they are.
For most home setups, HDMI is the dependable path: laptop, compatible adapter if needed, HDMI cable, then projector. Once the cable is connected, the remaining work is choosing the right input and telling the laptop what to do with the new display. This guide walks through that sequence, plus the checks that solve most no-signal moments quickly.
Start with the ports you actually have
Look at both devices before you buy anything. Most compact projectors use HDMI for video, so the projector side is usually straightforward. Laptops vary more. A full-size HDMI port gives you the simplest route. Smaller laptops may use USB-C, Mini DisplayPort, or another video connector, which means you need an adapter that supports display output, not just charging or data.
Think of the connection as a chain. Every link has to carry video: the laptop port, any adapter, the HDMI cable, and the projector input. A cable that fits physically is not proof that it can carry the signal you need. If you are unsure about a USB-C adapter, check the laptop maker's support information before you order it. Apple's external display guide for Mac is a useful example of the ports-and-adapter details to confirm.
Choose the adapter for video, not just power
USB-C is the point where many otherwise simple setups go wrong. Some USB-C ports can send video, while others are intended only for charging or data. An adapter may also look like an HDMI adapter but be designed to add ports rather than pass a display signal. Read the adapter description for display support and check the laptop specifications before relying on it for a movie night or presentation.
If your laptop has a full-size HDMI port, use a regular HDMI cable first. It is the least complicated route and gives you fewer parts to troubleshoot. If you need an adapter, keep that exact adapter with the projector after you confirm it works. Borrowed adapters are easy to misplace, and a small labeled pouch with the right cable and adapter saves a surprising amount of time before an event.
Older laptops may use Mini DisplayPort or another small connector. In that case, buy the adapter for the laptop port and connect it to a normal HDMI cable going into the projector. Avoid stacking several adapters together when possible. Each extra join is another place for the signal to fail, and a single purpose-made adapter is easier to replace or test.
Use HDMI for the most reliable setup
Turn on the projector first, then connect the HDMI cable to the projector and laptop or adapter. Plug the adapter into the laptop last. This order makes it easier to see which part of the chain is not responding if the screen stays blank. Select the matching HDMI input on the projector using its source button or input menu.
Do not rush to change laptop settings before you confirm the basics. Check that the HDMI cable is fully seated at both ends, that the adapter is firmly connected, and that the projector is set to the port you used. A loose connection is unglamorous, but it is still more common than a mysterious hardware failure. Keep the cable loose enough that it is not pulling on the laptop or projector when someone moves nearby.

Choose duplicate or extend display
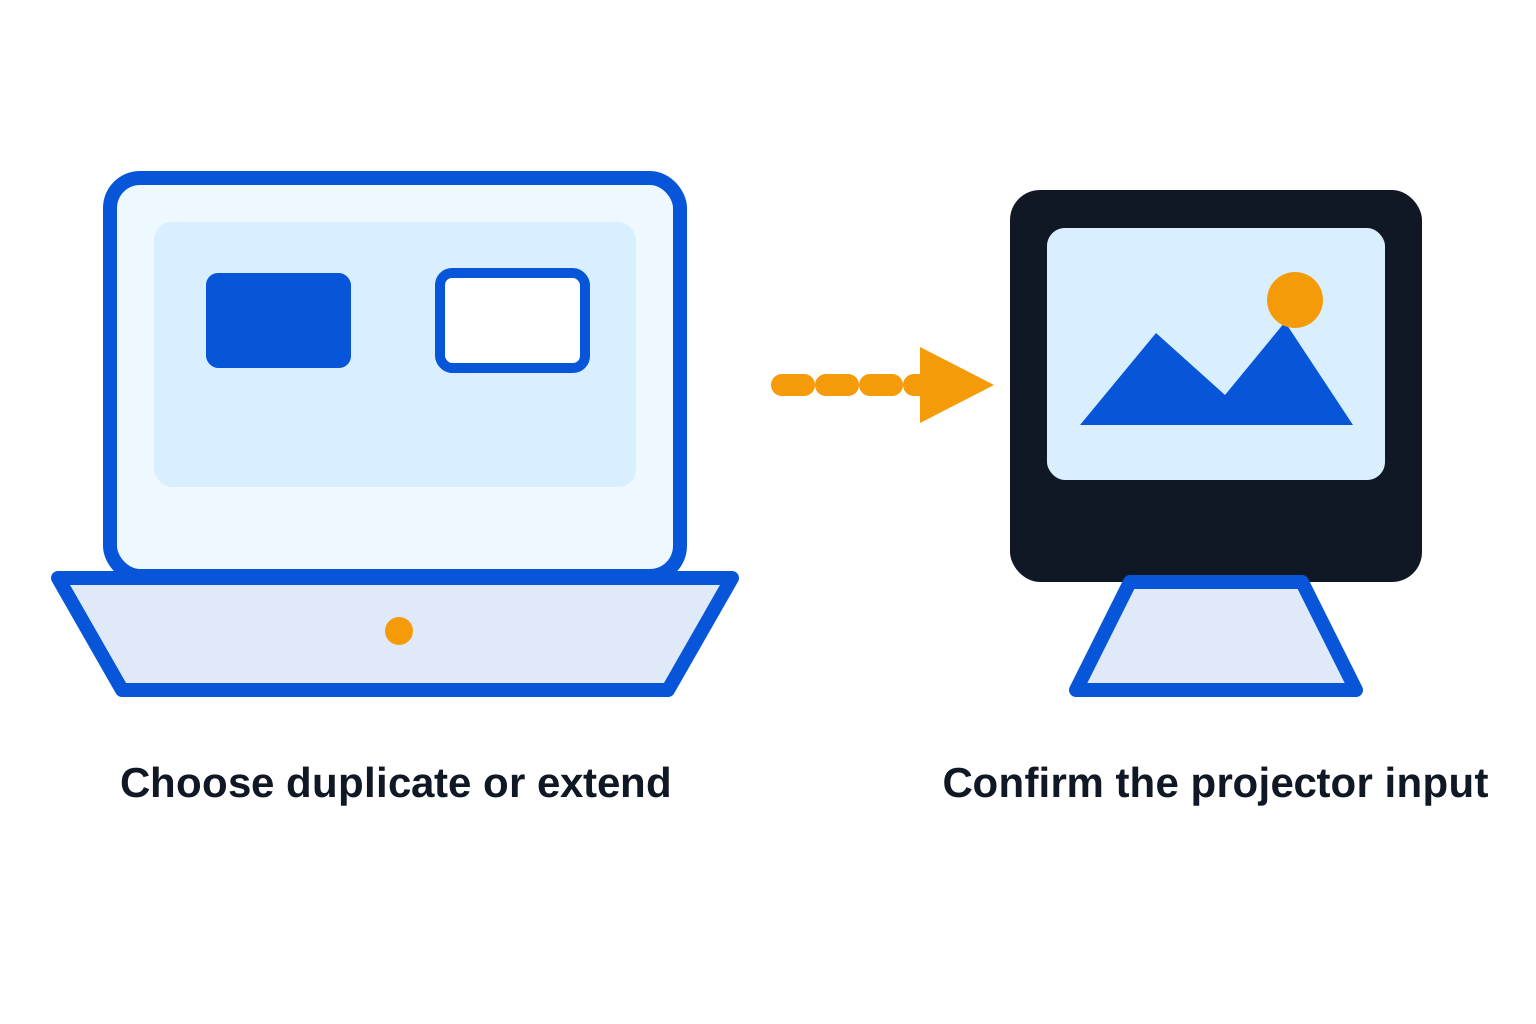
Once the projector sees the laptop, choose how the two screens should work. Duplicate puts the same image on the laptop and projected wall. It is the easiest option for a movie, a shared video, or a casual setup where you want to see exactly what everyone else sees. Extend turns the projector into a second workspace, which is useful when you want slides on the wall while notes stay on the laptop.
On Windows, open the display controls and choose duplicate or extend. On a Mac, use the Displays settings to choose mirroring or an extended desktop. ChromeOS users can connect an external display through Settings, where Google's external display help explains the available modes. If the projector image looks cropped, first try a normal resolution supported by both devices before changing any projector picture controls.
Set the picture up for the room, not the spec sheet
A projector can accept a signal and still look disappointing if the room and picture settings are fighting each other. Start with a moderate image size, especially in a room with lamps or daylight. A smaller image usually appears brighter and clearer than a huge image pushed beyond what the room can support. Darken the space where you can, then move the projector closer or farther from the wall to set the size.
Keep the projector as square to the wall as possible before using keystone correction. Tilting it sharply upward or sideways stretches the image and can soften text at the corners. Use the focus control after the projector has warmed up, and focus on text near the middle and edges of the image rather than only the center. For presentations, a quick slide with small type is a better test than a movie scene.
When the laptop lets you choose a resolution, start with a common widescreen option that matches the projector's native shape. If the image is missing at the edges, looks unusually soft, or flashes on and off, lower the resolution one step and test again. A stable, clear picture is more valuable than chasing a larger number that the projector and cable are not handling cleanly.
Get sound working before you settle in
HDMI can carry sound as well as video, but the laptop may keep using its built-in speakers until you select the projector as the audio output. Play a short clip and listen from the seating area, not just beside the projector. That catches low volume, a muted output, or a cable problem before the viewing starts.
For a small room, the projector speaker may be enough. In a larger room or outdoor setup, connect an external speaker after the video is stable. The store's portable projector setup guide explains the usual HDMI, Bluetooth, and 3.5 mm audio paths. Separating the picture check from the audio check makes troubleshooting far less frustrating.
For a presentation, make a sound decision before people are seated. If the room is quiet and the audience is small, the projector speaker may be sufficient. For a larger group, test the projector with the speaker or sound system you plan to use, not a different one. Video and audio can take different routes, so confirming both in the real room is the only dependable rehearsal.
Fix a blank screen in the right order
When the projector says no signal, start at the projector. Select the correct HDMI input and wait a few seconds. Then wake the laptop, unlock it, and reconnect the cable. If you are using an adapter, check that it is designed for video output. A USB-C charging adapter can look convincing while doing nothing for the picture.
Next, try the display mode. Set the laptop to duplicate or extend, then lower the resolution if the image still does not appear. Swap in another HDMI cable if one is available. That simple process tests the pieces most likely to be at fault without changing five settings at once. If the projector receives a picture but it is soft or trapezoid-shaped, fix its physical placement before you reach for software corrections.
Handle a picture that appears and then disappears
A flickering connection is usually a physical connection, a tired cable, or a display setting the equipment is struggling to agree on. First, reseat the HDMI cable and adapter. Then keep the laptop awake and unlocked while you test. Some laptops stop sending video when they sleep, and it can look like the projector has lost the signal on its own.
If the picture returns only briefly, try a shorter or different HDMI cable. Long cables, damaged connectors, and adapters that have been bent in a bag can all cause intermittent results. Test the projector with another source if one is nearby, such as a streaming stick or game console. That tells you whether the issue is the laptop connection or the projector input without guessing.
When you are using a streaming service, remember that some services limit playback on unfamiliar displays or require the browser and operating system to be up to date. Test the actual video you plan to watch before guests arrive. A locally stored video or a simple presentation file is also helpful for proving that the laptop-to-projector connection itself is working.
Match the setup to what you are doing
For a movie night, a direct HDMI connection and duplicated display are usually the least stressful choice. Downloaded video or a familiar streaming source lets you confirm picture and sound before anyone arrives. For gaming, test a fast-moving scene first so you can see whether the connection and projector settings feel responsive enough. For a presentation, extending the display can keep your notes and controls private while the audience sees the finished material.
Projector placement still matters with a laptop source. Put the projector on a stable surface, square it to the wall, set the image size by moving it closer or farther away, then use only modest keystone correction. The setup guide covers the order for a clear picture, while the phone-to-projector guide is useful when you want a second connection option ready.
Plan the power and placement before the cable run
Choose the projector position before you sit down with the laptop. The HDMI cable has to reach without crossing a busy walkway or pulling against a connector. Place the laptop where you can still use it comfortably, and allow enough airflow around the projector. A stable side table or shelf is better than a soft cushion that can block vents or shift the image halfway through a film.
For outdoor viewing, test the setup at the same time of day you plan to use it. The picture may look fine at dusk but fade while there is still a lot of light in the sky. Keep power cables protected from foot traffic, and bring the projector indoors if the weather is uncertain. A dry, stable setup produces a better result than trying to make a big image work in the wrong conditions.
Keep one simple laptop projector kit together
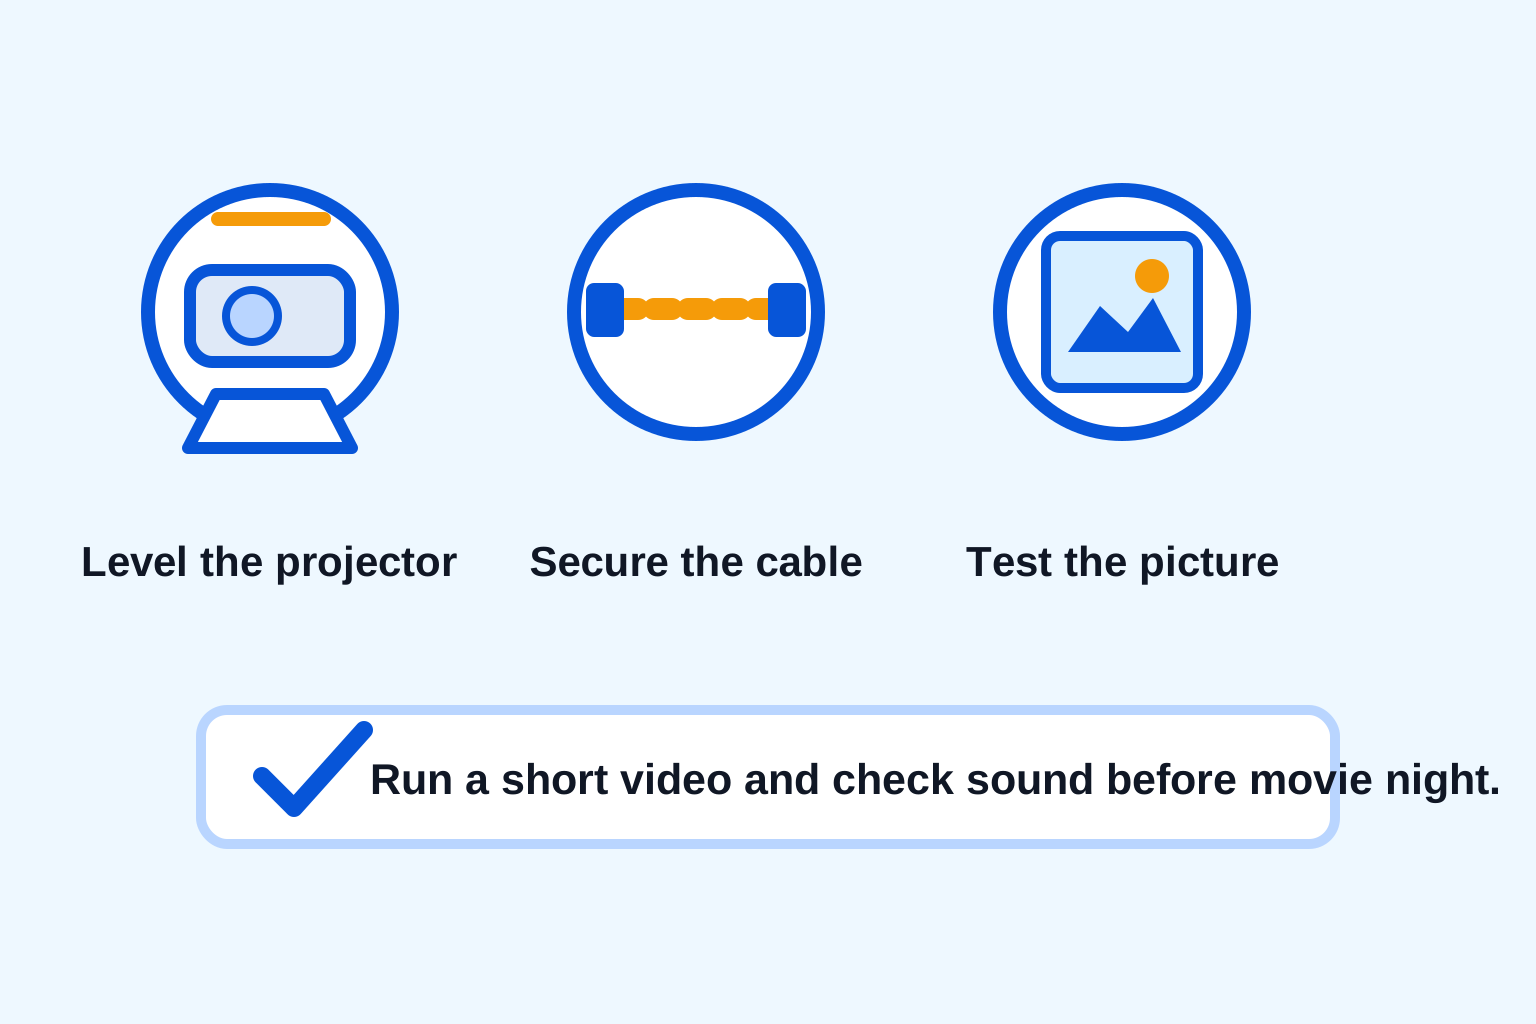
The easiest way to avoid a last-minute cable hunt is to leave the essentials together: the projector, its power cable, one HDMI cable, and the adapter your laptop needs. Before an important movie, game, or presentation, run the whole kit for five minutes in the same room. That small test tells you whether the cable reaches, the display is detected, and the sound is going to the right place.
The HY300 portable smart projector is a practical option for a compact laptop setup, with HDMI input for a direct connection and a built-in stand for easier positioning. Its listed 40 to 130 inch projection range gives you room to start with a smaller, clearer picture and adjust for the space. Browse the full collection when you are putting together the rest of a simple entertainment setup.
Use this five-minute laptop-to-projector checklist
- Check that the laptop port, adapter, and HDMI cable all support video.
- Turn on the projector and select the HDMI input you plan to use.
- Connect the HDMI cable, then wake and unlock the laptop.
- Choose duplicate for shared viewing or extend for a second screen.
- Play a short video and confirm picture, focus, and sound from the seating area.
That sequence avoids most setup drama because it tests one decision at a time. Once it works, leave the cable and adapter with the projector. The next setup should take minutes, not an online search for a port you have already figured out.
Frequently asked questions
What cable do I need to connect a laptop to a projector?
HDMI is the simplest option when both devices have HDMI ports. If your laptop only has USB-C, Mini DisplayPort, or another video port, use an adapter that specifically supports video output, then connect a normal HDMI cable to the projector.
Why is my laptop connected to the projector but there is no picture?
First select the projector's correct HDMI input. Then make sure the cable and adapter are fully connected, wake and unlock the laptop, and choose duplicate or extend display in the computer's display settings. Testing with another cable or port is the fastest next step when the projector still reports no signal.
Can I play sound through a projector from my laptop?
Usually, yes. HDMI can carry both video and audio, but you may need to choose the projector as the sound output on the laptop. For a larger room, you can also connect a speaker to the laptop or projector after you confirm that the picture is stable.
Should I duplicate or extend my laptop screen on a projector?
Choose duplicate when you want the same picture on the laptop and projector, which is simplest for a movie or casual viewing. Choose extend when you want the projector to act as a second screen, such as for a presentation or keeping controls on the laptop.
Related posts

Portable Projector Setup: Get a Clear Picture Anywhere
A practical guide to placing, focusing, connecting, and tuning a portable projector for movie night, gaming, or a quick big-screen setup.

How to Connect Your Phone to a Projector
A practical guide to wired and wireless phone-to-projector connections, plus the compatibility checks that prevent a movie-night scramble.

How to Connect a Bluetooth Speaker to a Projector
A simple guide to pairing a Bluetooth speaker with a projector, choosing the right audio output, and solving common sound problems.
Outdoor Projector Setup: A Backyard Movie Night Guide
A practical outdoor projector setup guide for choosing a screen spot, managing power, setting up sound, and getting a clearer backyard movie-night picture.