
An outdoor projector setup is one of those plans that sounds effortless until the first image is dim, the screen catches a breeze, or the movie starts while everyone is still looking for the right input. The good news is that a backyard movie night does not need a permanent theater. It needs a dark-enough spot, a stable picture path, sensible power, and a short test before people arrive.
This guide focuses on a temporary setup you can pack away after the credits. Start with the conditions you can control, then choose the screen size, projector position, sound, and source device. That order prevents the common mistake of trying to fix an outdoor problem with a menu setting.
Choose the darkest practical spot first
Pick a viewing surface that faces away from porch lights, windows, streetlights, and bright neighbors. Outdoor projection works best after sunset, when the sky is dark and the screen is not competing with direct light. A smaller picture in a darker corner is usually more enjoyable than a giant picture washed out by ambient light. Turn off or redirect lights that point toward the screen, including decorative lights that look harmless until they land on the white surface.
Give the setup a little breathing room. You need space for the screen or wall, the projector, a clear path for people to walk, and seating that does not block the beam. A smooth light-colored wall can work for a casual night. A portable screen is more predictable when you want a cleaner image, provided it is taut and secured against a light breeze. Avoid a loose sheet if you can, because folds and movement are surprisingly visible on screen.
Make the picture modest before making it huge
Outdoor light has a way of shrinking a projector’s usable image. Rather than starting with the largest possible screen, begin with a medium image and increase it only if it stays clear from the seats. Projector brightness, screen material, moonlight, nearby lighting, and the actual viewing distance all affect what looks good. The best size is the one where faces, subtitles, and darker scenes remain easy to see.
Set the projector on a sturdy table, stand, or tripod mount that keeps the lens pointed toward the screen’s center. Keep it off grass and away from damp ground. Move it forward or back to get close to the size you want, then level it before touching keystone correction. Keystone is useful for small finishing adjustments, but the cleanest result comes from placing the projector physically square to the screen. Our portable projector setup guide explains the same placement and focus sequence for indoor or outdoor use.
Plan power before the sun goes down
Power deserves more attention outdoors because water, foot traffic, and temporary cords change the risk. Use equipment designed and marked for outdoor use, inspect it before the event, and keep connections away from wet ground. The Electrical Safety Foundation International advises using cords rated for the situation, matching the cord to the appliance’s power needs, and not running cords through water, snow, walls, doorways, ceilings, or floors. Its extension-cord safety guidance is worth reading before a backyard setup.
Keep cables where no one will trip over, pinch, or pull them. Do not daisy-chain extension cords or use a damaged cord, and do not leave a connection outside when the weather turns. The Consumer Product Safety Commission notes that proper wire size, strain relief, polarization, continuity, and a jacketed outdoor cord are safety characteristics for outdoor use. If there is any uncertainty about the electrical setup, stop and use a safer location or ask a qualified electrician.
Choose a source that will not turn into a Wi-Fi test
Outdoor streaming can work well, but check your signal where people will actually watch. A phone may show strong Wi-Fi at the back door and struggle a few steps into the yard. Test the app, the projector’s connection, and the exact title you plan to play before guests arrive. If your connection is shaky, a downloaded movie, a laptop with an HDMI cable, or a streaming device that has already been tested is a more dependable backup.
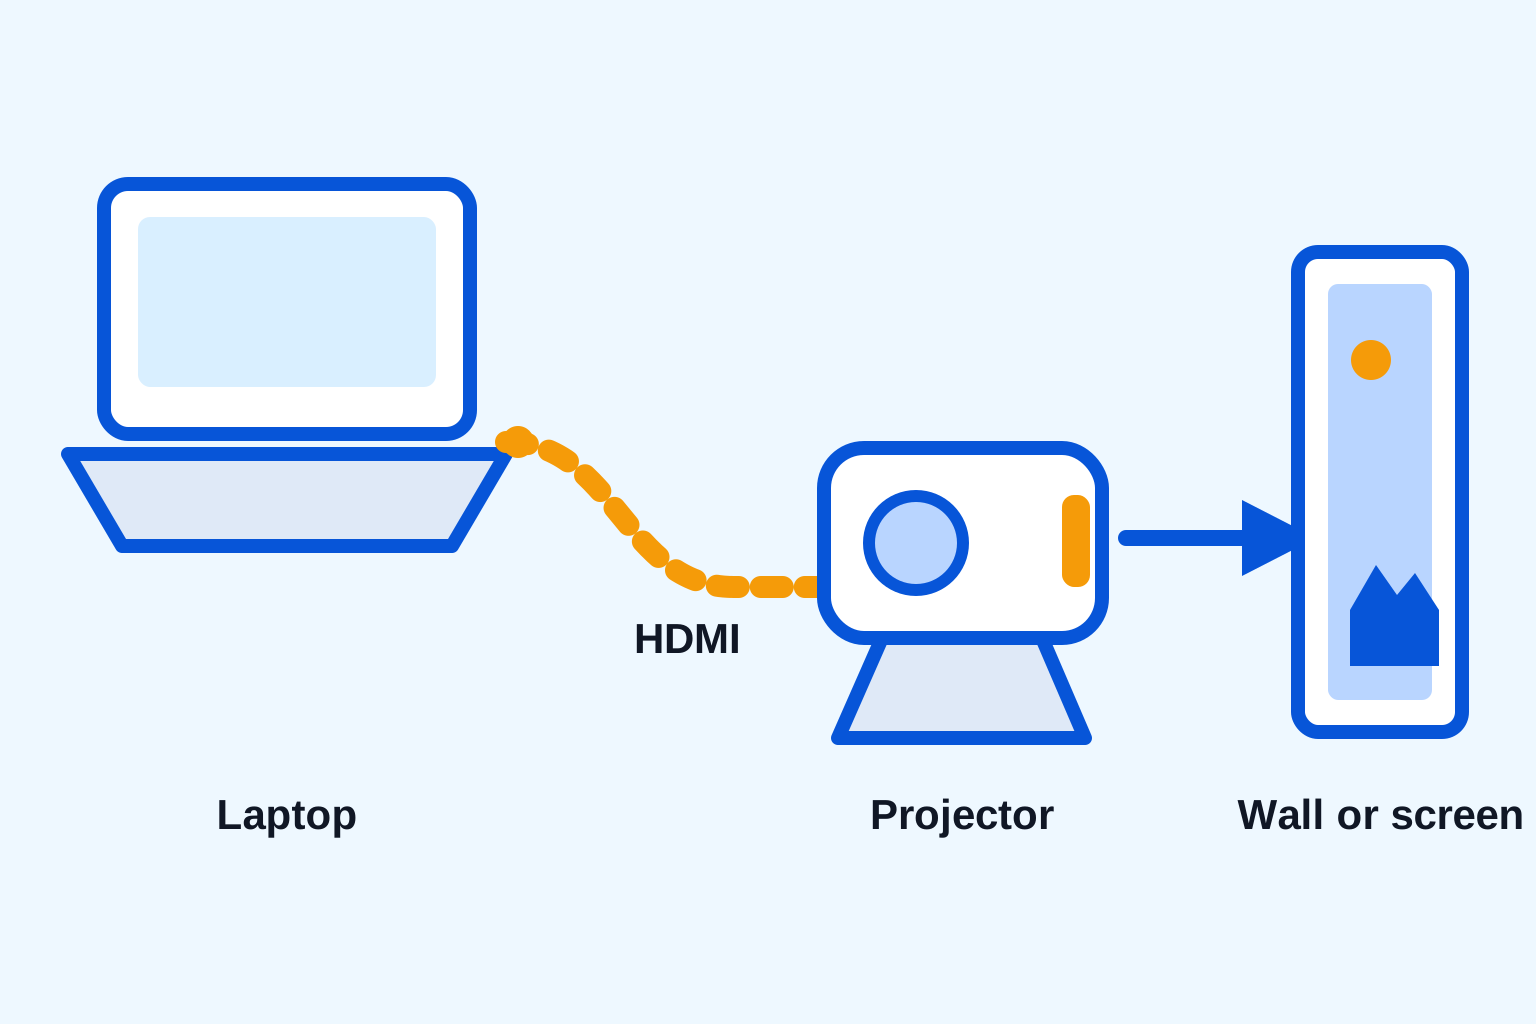
HDMI is often the simplest route for a laptop, game console, or streaming stick. Choose the projector’s correct input, then play a short clip with sound. For a phone, compatibility is more variable. The phone-to-projector guide covers the adapter and wireless checks to make before movie night. A stable picture is the priority. Once that works, you can decide whether the projector’s built-in apps or screen mirroring are worth using for the occasion.
Put sound closer to the people than the projector
Open air absorbs sound quickly, and a projector’s built-in speaker may struggle once people are sitting several feet away. A portable Bluetooth speaker can make dialogue much easier to follow, but pair it and test it before the show. Place the speaker near the seating area on a stable surface, not hidden behind the projector or across the yard. Keep the volume comfortable for neighbors and check for audio delay using a dialogue-heavy scene.
If your projector can send Bluetooth audio, follow the pairing process in the Bluetooth speaker guide. If Bluetooth introduces too much delay, a compatible wired audio connection is often the better choice. The useful rule is simple: use the most reliable sound path you have already tested, not the one that looks tidiest in theory.
Protect the projector from weather and clutter
A temporary outdoor setup should be temporary. Do not treat a projector as weatherproof unless the manufacturer specifically says it is. Bring it inside when you are done, and do not use it in rain, heavy dew, or conditions where moisture could reach the device, plug, or connections. Keep drinks off the projector table, leave room around vents, and give the unit a stable place where children, pets, and passing guests cannot bump it.
Make the area easier to move around in by routing the projector and power cables along an edge rather than straight through the seats. A few minutes spent arranging the layout prevents people from walking through the beam or snagging a cable during the movie. It also makes pack-down painless because every part of the setup has a clear place to go.
Set up early enough to solve one problem at a time
Start 30 to 45 minutes before you want to watch. That gives you a chance to see how the picture changes as daylight fades and leaves time for a connection retry without an audience waiting. Begin with the screen and projector position. Then connect the video source. Then test sound. Finally, sit in the farthest seat and check that the image is still easy to watch and the dialogue is still clear.
Do not calibrate endlessly. After the setup is square and the room is dark, small focus and picture-mode adjustments are usually enough. If the image remains dim, reduce the size, remove nearby light, or wait for darker conditions before blaming the projector. An outdoor setup is about sensible expectations, not forcing a daylight television experience from a compact device.
Run a five-minute rehearsal before guests arrive
A quick rehearsal catches the small problems that become annoying once everyone has a seat. Use the actual streaming app, laptop, or game console you plan to use. Start a scene with dialogue, a dark shot, and movement. That one test tells you whether the image is bright enough, the focus is holding across the screen, the speaker is connected, and the source has a reliable connection where the projector sits.
Walk the viewing area while the test is playing. Look for a cable that crosses a path, a chair that blocks the beam, a screen leg that needs more support, or a light that becomes distracting after dark. Check the picture from the farthest seat too. The projector may look sharp when you stand beside it, but the people watching from the back are the ones who will notice whether subtitles are too small or the image needs to come down a size.
It also helps to decide what the backup plan is before you need it. If Wi-Fi is unreliable, have a downloaded title, HDMI cable, or another tested source ready. If Bluetooth sound acts up, know whether your speaker accepts a compatible wired connection. If light levels are higher than expected, make the image smaller rather than spending the first half hour trying to rescue a washed-out picture. Those are not glamorous details, but they are what make the night feel easy.
For a first setup, keep the event intentionally simple: one projector, one screen or wall, one source, and one audio path. Extra adapters, multiple streaming devices, or a complicated seating layout introduce more places for a small mismatch to hide. Once the basic version works reliably, you can add comforts such as cushions, snacks, or extra seating without putting the picture and sound at risk.
Keep the safety check equally simple. Reinspect the power route after you finish moving furniture and seats. The CPSC’s extension-cord guidance explains why basic cord construction and condition matter, while ESFI recommends replacing cords that are hot or damaged. If you see a problem, do not tape over it or work around it. Unplug the setup and correct it before the movie starts.
A compact option for occasional movie nights
The HY300 portable smart projector is listed with built-in Android, HDMI input, auto keystone correction, and a 40 to 130 inch projection range. That makes it a practical option for a temporary setup when you start with a manageable image and test the source in advance. It is not a substitute for a weatherproof installation, so keep it dry and bring it back indoors after use.
For the rest of the kit, use the audio collection to find a speaker option, and keep the essentials together: projector, power cable, tested source, any adapter you need, audio backup, and a safe outdoor-rated power path. A small repeatable kit turns a spur-of-the-moment movie night into something that actually starts on time.
Use this outdoor projector setup checklist
- Choose a dry, dark spot with a stable screen or smooth light-colored wall.
- Set the projector on a sturdy, level surface and align it square to the screen.
- Use appropriately rated outdoor power equipment and keep every cord clear of water and walkways.
- Test the exact video source and a short dialogue clip before guests arrive.
- Put a speaker near the seats if the projector’s built-in sound is not enough.
- Bring the projector and accessories back inside after the viewing is over.
That is all most backyard movie nights need. Start dark, keep the picture square, take power seriously, and use the setup you have already tested. The result feels relaxed because the practical details were handled first.
Frequently asked questions
Can I use a regular projector outside?
A regular portable projector can work outdoors for a temporary movie night when conditions are dry and dark enough. Keep it on a stable surface, protect it from moisture, use suitable power equipment, and bring it back inside when you are done. Check the product instructions before using any projector outdoors.
How dark does it need to be for an outdoor projector?
Wait until after sunset and turn off or redirect lights that shine toward the screen. A smaller image in a darker spot usually looks clearer than a very large image in lingering daylight or porch-light glare.
Do I need a screen for an outdoor projector setup?
No, but a smooth light-colored wall or a taut portable screen makes it easier to get a clean picture. A loose sheet can work in a pinch, but folds and wind can make the image look uneven.
How do I keep outdoor projector cords safer?
Use properly rated outdoor equipment, keep cords away from water and walking paths, inspect them before use, and do not overload or daisy-chain extensions. If weather changes or a cord is damaged, stop and pack the setup away.
Related posts

Portable Projector Setup: Get a Clear Picture Anywhere
A practical guide to placing, focusing, connecting, and tuning a portable projector for movie night, gaming, or a quick big-screen setup.

How to Connect Your Phone to a Projector
A practical guide to wired and wireless phone-to-projector connections, plus the compatibility checks that prevent a movie-night scramble.
How to Connect a Laptop to a Projector
A simple laptop-to-projector guide for HDMI, display settings, sound, and the quick checks that prevent a blank screen.

How to Connect a Bluetooth Speaker to a Projector
A simple guide to pairing a Bluetooth speaker with a projector, choosing the right audio output, and solving common sound problems.