
A blurry projector image is rarely solved by one dramatic setting change. The dependable approach is simpler: choose the final spot, make the picture the size you want, square the projector to the wall, then fine-tune focus using detail you can actually judge. That order matters because moving or tilting the projector after focusing changes the work you just did.
Most compact projectors use a focus wheel, a focus button on the remote, or an automatic focus routine. The controls vary, but the goal is the same: sharp text and clear edges across as much of the picture as the room and projector can support. This guide starts with the physical checks that produce the biggest gain, then covers what to do when the picture stays soft.
1. Set the final image size before you focus
Start by deciding how large the picture needs to be, then move the projector closer to or farther from the wall to get close to that size. Do not use focus as a substitute for distance. A focus control makes the projected image sharper, but it does not change the projector’s natural image size or fix a room that is too bright for an oversized picture.
A smaller image is often the smarter choice in a bedroom or living room with lamps, windows, or pale walls. It can look brighter and make fine detail easier to see. The store’s projector brightness guide explains why room light and picture size work together. Once the image is near the size you want, leave the projector in place while you work through the next steps.
2. Square the projector to the wall
Place the projector on a stable, level surface and point the lens toward the center of the wall or screen. The straighter it faces the surface, the easier it is to get a crisp image from corner to corner. A tilted projector can make the picture trapezoid-shaped, and correcting that shape heavily in the menu can leave one area softer than another.
Think of the wall and projector as two parallel surfaces. Raise or lower the projector with its stand, shelf, or stable support before leaning it sharply upward. If the top and bottom edges look different, or one side remains fuzzy while the center looks good, recheck placement before turning the focus control again. LG’s projector support guidance likewise separates physical alignment from focus adjustment.
3. Give the projector a useful image to focus on
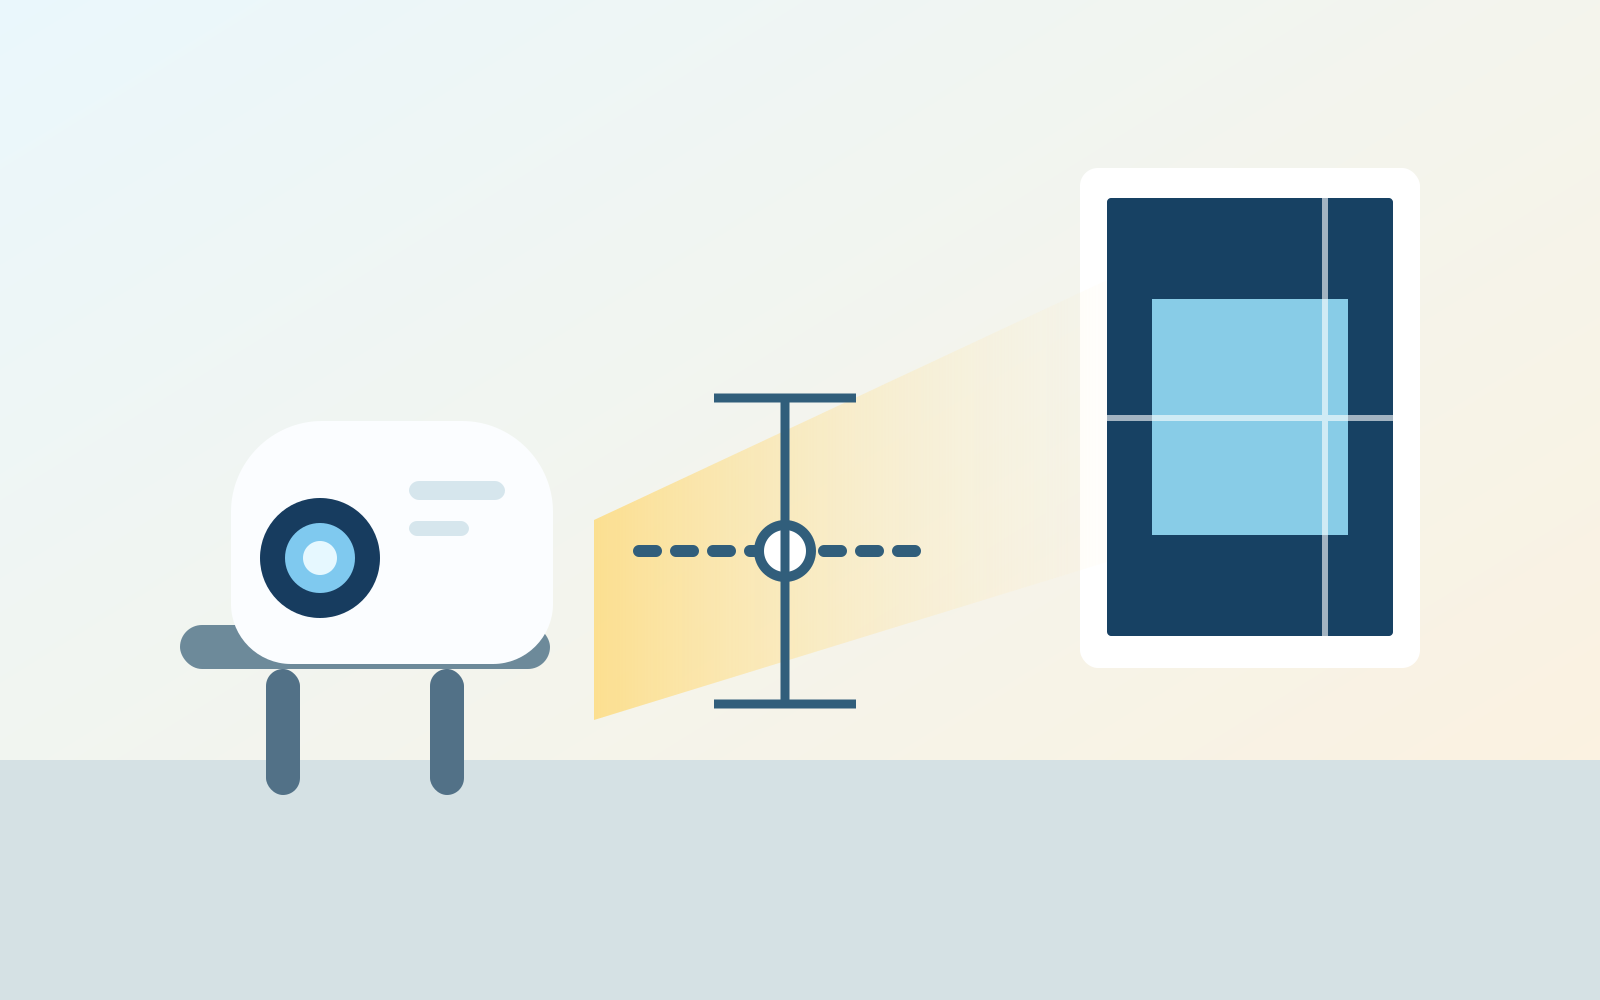
A dark movie scene does not give your eyes much to work with. Use a home-screen menu, subtitles, a paused credits screen, or a built-in test pattern with small high-contrast details. Look at lettering near the center of the picture first, then glance at the corners. You are aiming for the best overall balance, not one perfect pixel in the middle while the rest of the image falls apart.
If you are using a laptop, a slide with small text is an excellent test. The laptop-to-projector guide can help you get that connection working before you begin. For movies, subtitles are a convenient real-world check because they reveal focus problems without needing a special test image.
Do not judge focus from a single spot. Read a line near the top, another in the center, and a third near the lower edge. Then check left and right. This takes less than a minute and tells you whether you have a focus problem or an alignment problem. If one corner is dramatically different, changing focus alone will simply move the blur from one area to another.
4. Adjust manual focus slowly
With a manual focus wheel or ring, turn it a little at a time while watching the center of the image. When letters look clean, pause and compare the edges. It is easy to turn past the sharpest point when you move too quickly. Make a short adjustment, stop, then make another if necessary. Do not press on the lens itself, and avoid moving the projector while you are adjusting it.
Some projectors use a remote-control menu instead of a physical wheel. The method changes, but the slow, deliberate approach still applies. Epson’s focus instructions also recommend using the center reference point and checking the corners. If your model’s manual has a specific focus screen or calibration method, use that model-specific instruction first.

5. Let autofocus finish, then check it
Autofocus is convenient after you move a portable projector from room to room. Let the cycle complete before changing anything else, then inspect text and corners. If it is close but not quite right, look for a manual fine-tune option in the projector’s settings or remote. Different models put autofocus in different places, so do not assume a feature works the same way across every projector.
Autofocus can struggle when the wall has busy artwork, the room is very bright, or the projector is pointed at an extreme angle. In those cases, give it a plainer target and improve the physical placement. The portable projector setup guide has the same practical foundation: stabilize the room and placement first, then let the controls do their smaller job.
6. Use keystone correction lightly
Keystone correction is helpful for a quick setup, but it is not a replacement for placing the projector squarely. It reshapes the picture digitally when the lens is too high, too low, or too far to one side. Use it sparingly after you have physically improved the angle. If you need a large correction, move the projector instead.
This is the common reason a picture can look sharp in the center but soft near one edge. The projector is trying to make a skewed image rectangular. Reducing the tilt often improves the whole picture faster than more focus adjustment. If the picture is rectangular and still blurry everywhere, then focus, lens condition, source quality, or room temperature is the more likely cause.
Keep the correction choice practical. A small adjustment for a shelf that is a little low is normal. A large correction to make a projector work from the far corner of a room is a sign the projector needs a better location. Moving a table, using the built-in stand, or choosing a slightly smaller image is usually a better trade than accepting soft text and uneven edges.
7. Rule out the easy causes of a soft picture
Check the lens before assuming there is a complicated fault. Dust, fingerprints, and a smudged protective film can soften an image enough to be annoying. Turn the projector off, let it cool, and follow the maker’s cleaning instructions. A clean microfiber cloth is normally safer than household cleaners or paper products, which can scratch a lens coating.
Also check the source. A low-quality stream, an out-of-range display setting, or a loose HDMI connection can look like poor focus even when the lens is fine. Try a different short video or a menu screen, and make sure the source is awake and connected securely. For phone connections, the phone-to-projector guide covers the adapter and input checks that prevent a blank or degraded picture.
Room conditions matter too. A bright lamp aimed at the wall can wash out edges and make the picture seem less detailed than it really is. Turn off the lamp or redirect it, close a nearby blind, and look again. If the image improves immediately, brightness and contrast were the problem, not focus. That distinction prevents a lot of unnecessary fiddling with a projector that was already optically sharp.
When a projector stays blurry after focusing
If the center and corners will not become clear at the same time, return to placement. The projector may be tilted, too close for the image size, or pointed at a textured surface. If the image starts sharp and drifts after the projector warms up, wait a few minutes before making the final adjustment. Some lens systems settle as temperature changes.
If only the video looks soft while menus and subtitles are crisp, focus is not the problem. Check the streaming quality, source resolution, and cable or wireless connection. If the entire picture remains soft after placement, focus, cleaning, and a different source, check the product manual or support route for that exact model rather than forcing the controls further.
For a projector you move often, make one small kit with the power cable, remote, and a clean HDMI lead. Test that kit in the room before guests arrive, especially if you are using a different wall or source device. Reliable focus starts with a setup that stays still, has clean power and ventilation, and gives you a predictable image to adjust.
Match the focus check to what you are watching
Different uses expose different kinds of softness. For a movie, pause on credits or turn on subtitles and check whether the letters are easy to read from the seat. For a presentation, use the smallest text that the audience will need to read. For casual gaming, look at on-screen menus before the action starts. A picture that seems fine from beside the projector may be much less convincing from the couch.
There is also a limit to what focus can repair. If you stretch a small projector image to fill a huge wall, choose a badly textured surface, or try to watch in full daylight, the picture may never look as crisp as it did in a smaller, darker setup. Treat focus as the final polish on a sensible room setup. It cannot manufacture detail or contrast that the projector, source, and room do not have.
For the same reason, make the final check from normal viewing distance. Sitting next to the projector can make every tiny imperfection feel bigger than it will be from the couch. If dialogue is readable, edges look even, and the picture feels comfortable after a few minutes of viewing, stop adjusting. Chasing microscopic changes can make a simple setup less enjoyable than it needs to be.
A compact projector that makes setup easier
The HY300 portable smart projector gives shoppers a compact option for movie nights, casual gaming, and temporary big-screen setups. Its listed built-in stand and auto keystone correction can make positioning more flexible, but the same basic rule still applies: a level setup and a sensible image size produce the strongest result. Use the automatic tools as a convenience layer, not as a reason to skip good placement.
When you are building out a simple viewing setup, browse the full collection for the practical extras that support the experience. For a larger room, test the picture and sound from where people will sit before the movie starts. Five calm minutes of setup is better than spending the first scene turning controls in the dark.
Use this five-minute focus checklist
- Darken the room enough to see fine detail.
- Set the image size by moving the projector, not by forcing focus.
- Level and center the projector toward the wall or screen.
- Use small text, subtitles, or a test pattern to judge sharpness.
- Make small focus changes, then inspect the center and corners.
- Use only modest keystone correction after improving placement.
- Check the lens and source before assuming there is a hardware problem.
Once you find the sweet spot in a room, take a quick note of the table, shelf, or distance that worked. The next setup will be faster, and your projector will spend more time showing a clear picture than asking you to fix one.
Frequently asked questions
Why is my projector blurry around the edges?
Start by placing the projector level and square to the wall or screen. If the center is clear but the edges stay soft, the projector may be tilted too far or using too much keystone correction. Fix placement first, then make a small focus adjustment.
Should I focus a projector before or after keystone correction?
Set the final image size and get the projector as square to the wall as possible first. Use only a modest amount of keystone correction, then focus the image. A large shape correction can make an edge look soft even when the center is focused.
Why does my projector go out of focus after it warms up?
Some projectors need a few minutes to reach a stable operating temperature. Let the image settle, then make your final focus adjustment. If the picture keeps drifting after it has warmed up and the projector has not moved, check the product instructions or support guidance.
What should I use to focus a projector?
Use small text, menu icons, subtitles, or a built-in test pattern instead of a plain movie scene. Clear high-contrast detail makes it easier to judge sharpness in the center and corners of the image.
Related posts

Portable Projector Setup: Get a Clear Picture Anywhere
A practical guide to placing, focusing, connecting, and tuning a portable projector for movie night, gaming, or a quick big-screen setup.

How to Connect Your Phone to a Projector
A practical guide to wired and wireless phone-to-projector connections, plus the compatibility checks that prevent a movie-night scramble.
How to Connect a Laptop to a Projector
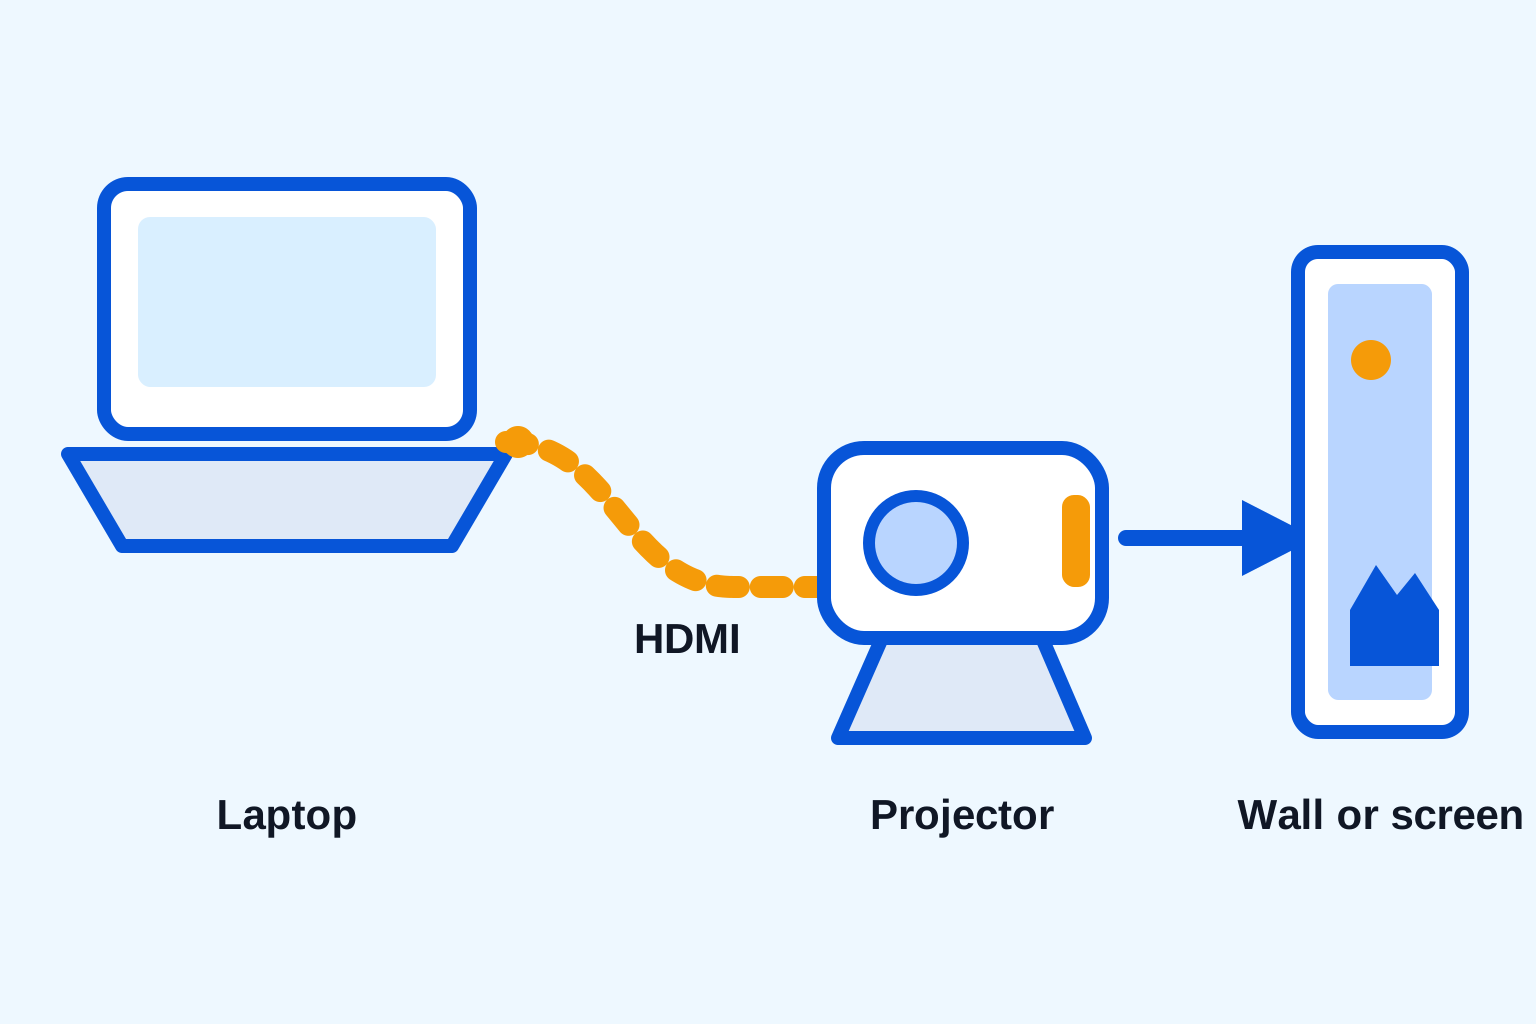
A simple laptop-to-projector guide for HDMI, display settings, sound, and the quick checks that prevent a blank screen.

How to Connect a Bluetooth Speaker to a Projector
A simple guide to pairing a Bluetooth speaker with a projector, choosing the right audio output, and solving common sound problems.